Building Redox Keyboards

I’ve been using a split keyboard for some time, which I assembled using one of the cheaper kits on Aliexpress. Some time in September 2021, my wife remarked that she also wanted a split keyboard, and that sparked in me what might be called a hacker’s burning desire to build the thing.
Ordering the parts
Now, I knew that split keyboard were difficult to find. In our little search, we found that if we wanted to buy a customized set which was programmable (the only kind of split keyboard which makes sense), it would set us back some $600 SGD per set.
Obviously we balked at the cost, and so I said I’d build it, and better yet, I’d build a prototype first so we could try the keyboard layout before actually spending more money on it.
About $200 SGD later, I had bought enough switches for 3.25 keyboards, enough hotswap sockets for 3, TRRS jacks and diodes for 6, and so on… I went a little crazy there.
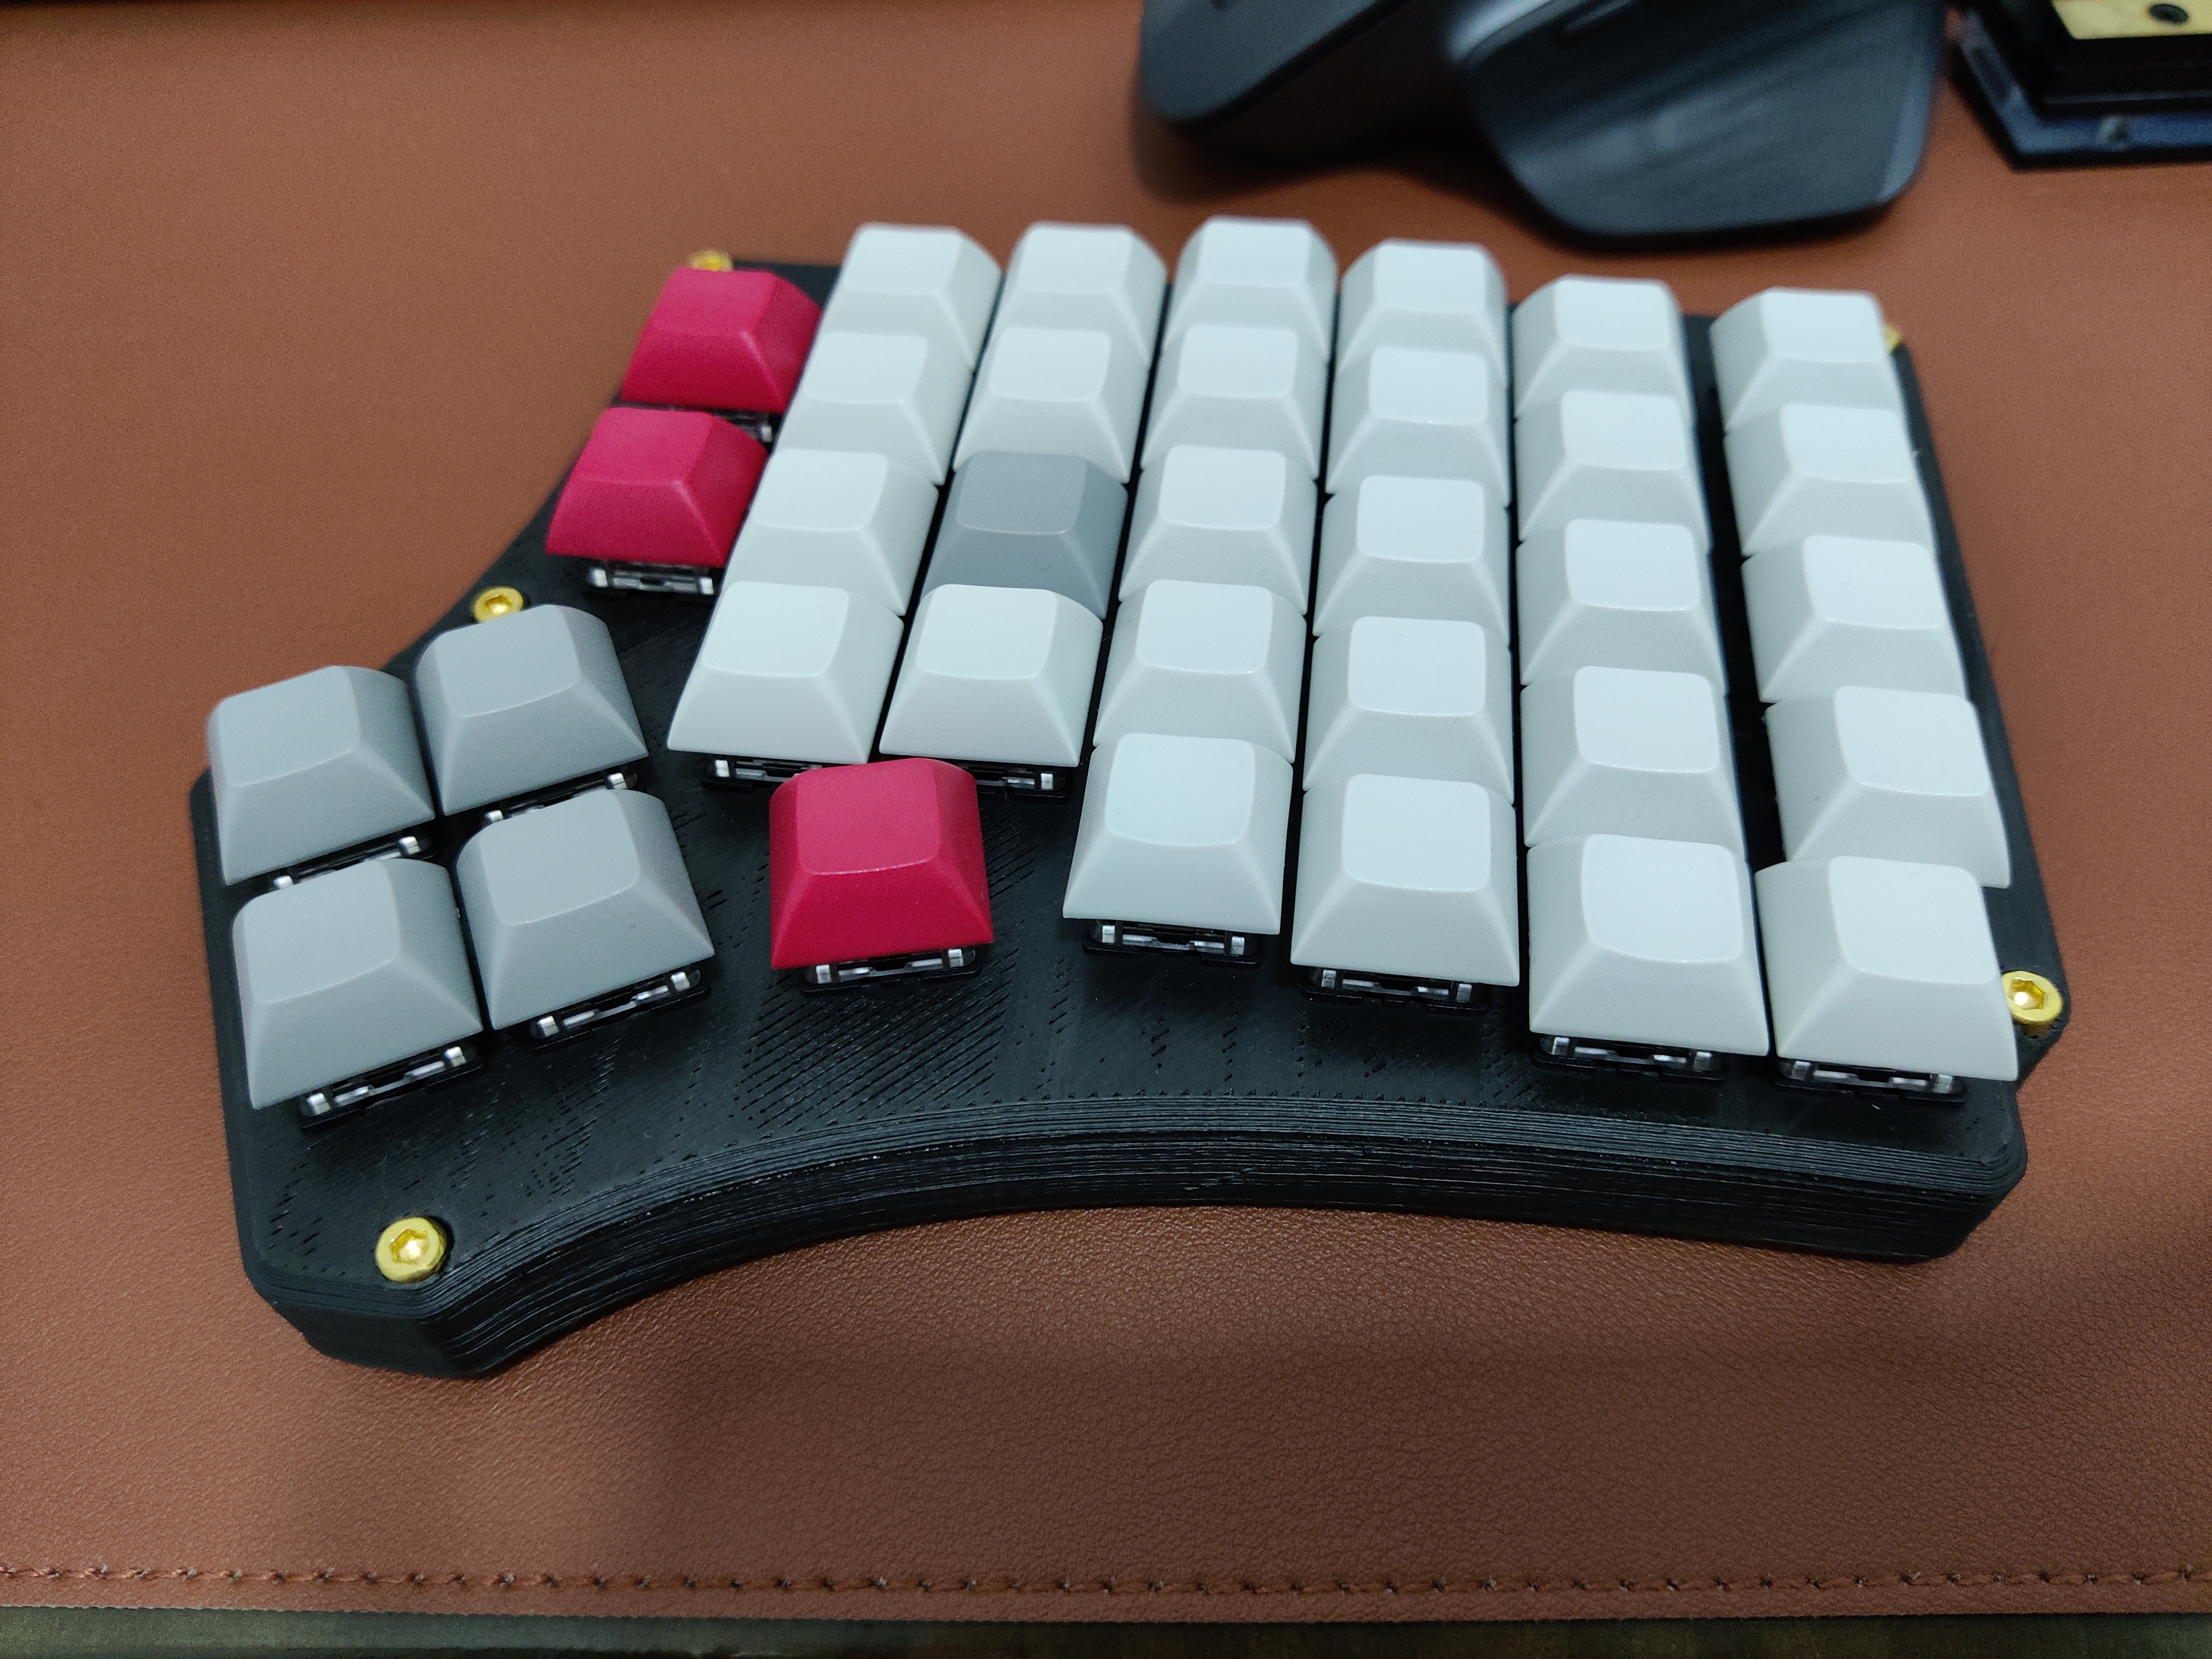
I got a friend to help me 3d print the cases for the prototype, and after he sent them over, I gave it a little test fitting.
With a little more research we confirmed that we wanted the Redox keyboard for a couple of reasons:
- There was enough documentation on it
- It was viable to buy parts for it (keycaps and cases were especially tricky to find)
- It was a design where either side could be the master
So we ordered some cases and PCBs from FalbaTech and keycap sets from Aliexpress.
Flashing keyboards with QMK
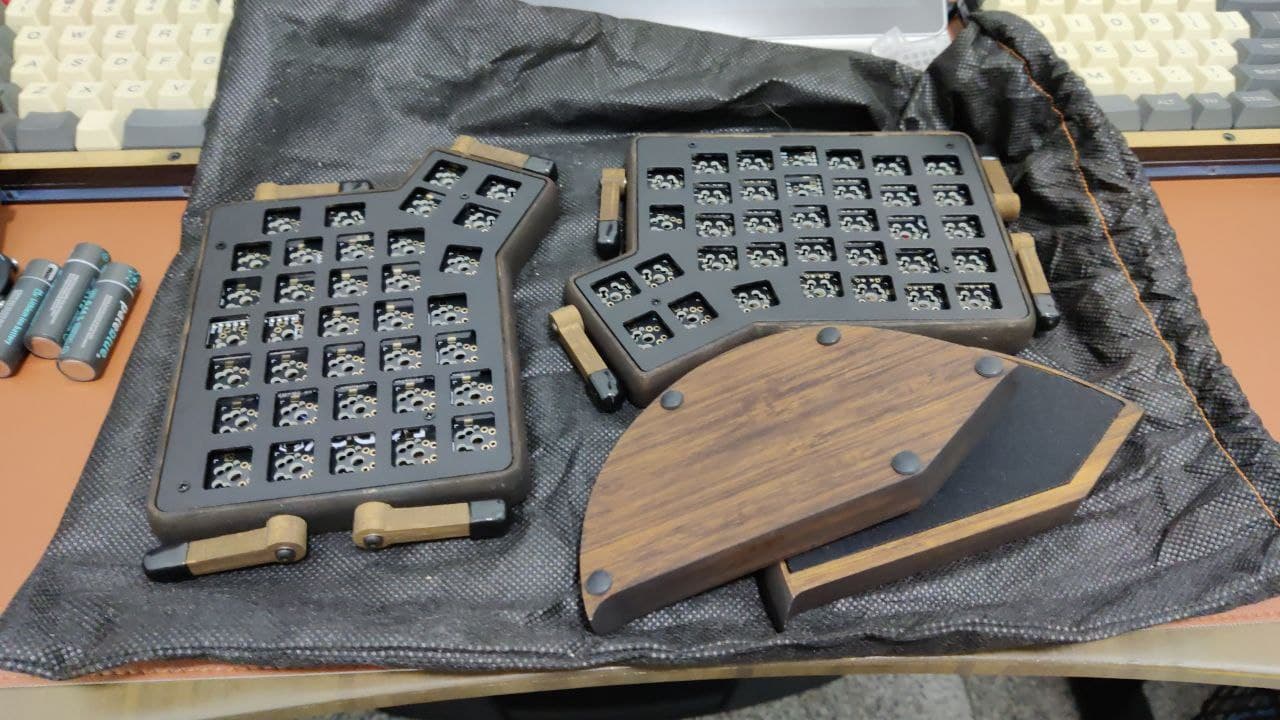
Funny enough, I delayed the hand-wiring so long that the cases and PCBs that we ordered arrived before I had finished hand-wiring. So we went ahead and started on those first, and finished them over a weekend. It wasn’t difficult to solder in the hot swap sockets, but it did give me a couple of lessons in managing the microcontrollers and working with QMK.
- Don’t solder until you absolutely have to
- Read the documentation carefully before making any permanent decisions
Obviously, I made some mistakes, and cost myself a little. It took me awhile to figure out that on a Windows machine, the COM Ports would appear only for a moment on a microcontroller that was already a USB host. Shortly after I figured out that I had soldered my right microcontroller upside down.
Other than that, configuring a keyboard layout flashing the microcontrollers was simple enough using QMK Configurator and following QMK Documentation
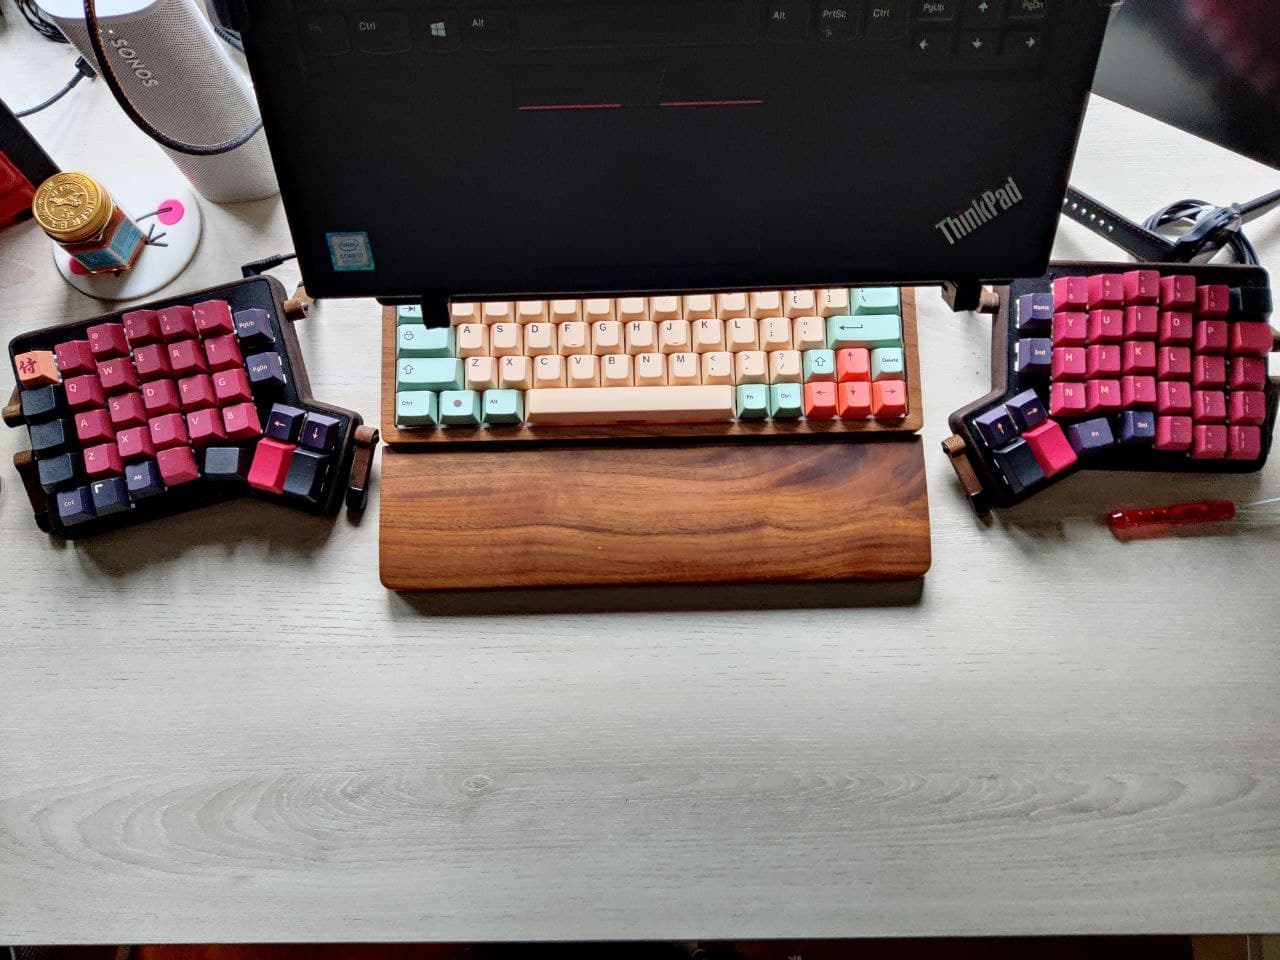
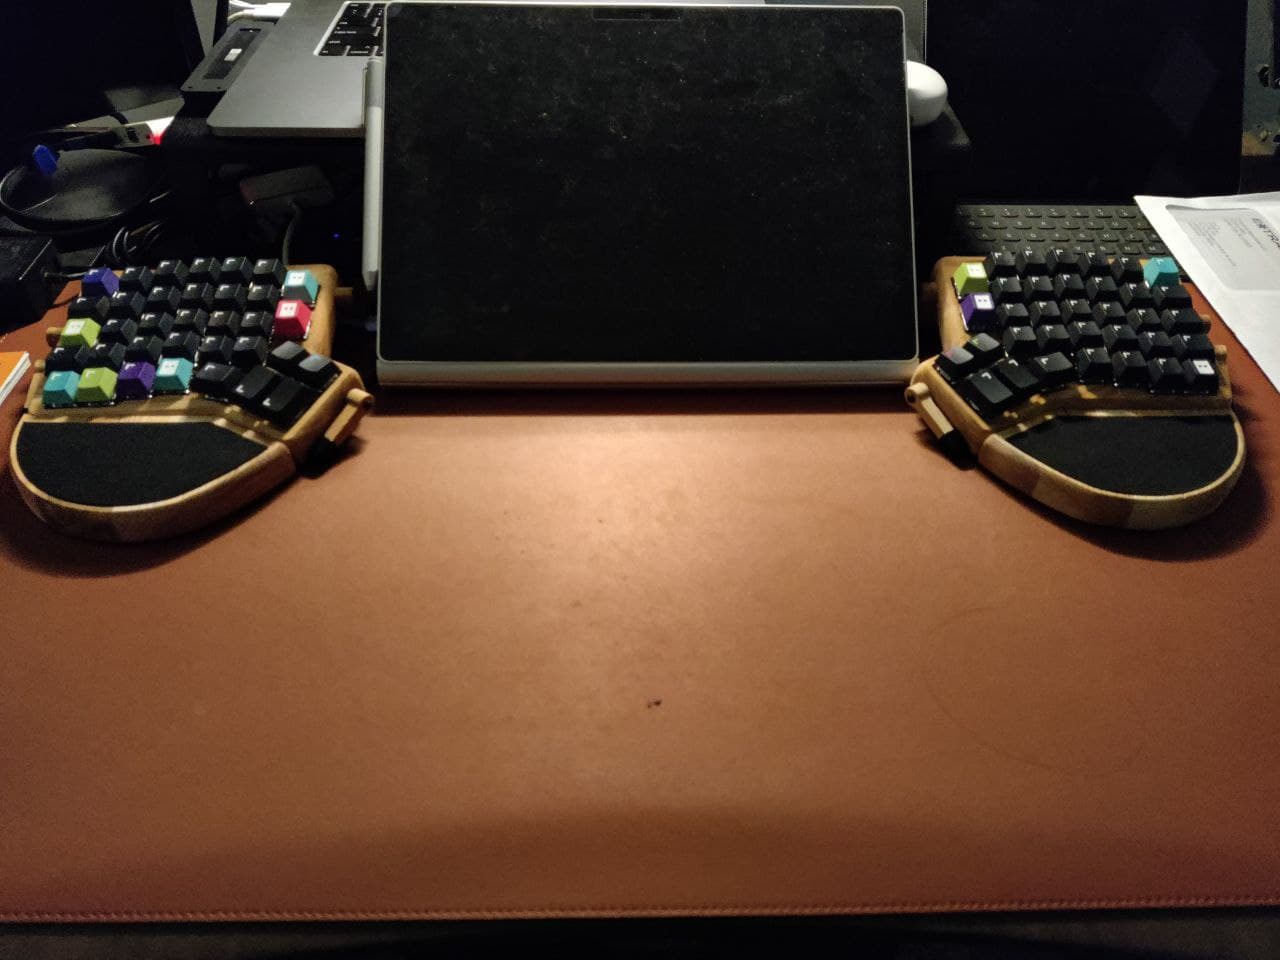
The end result: My wife and I both got new split keyboards for the price of one Ergodox.
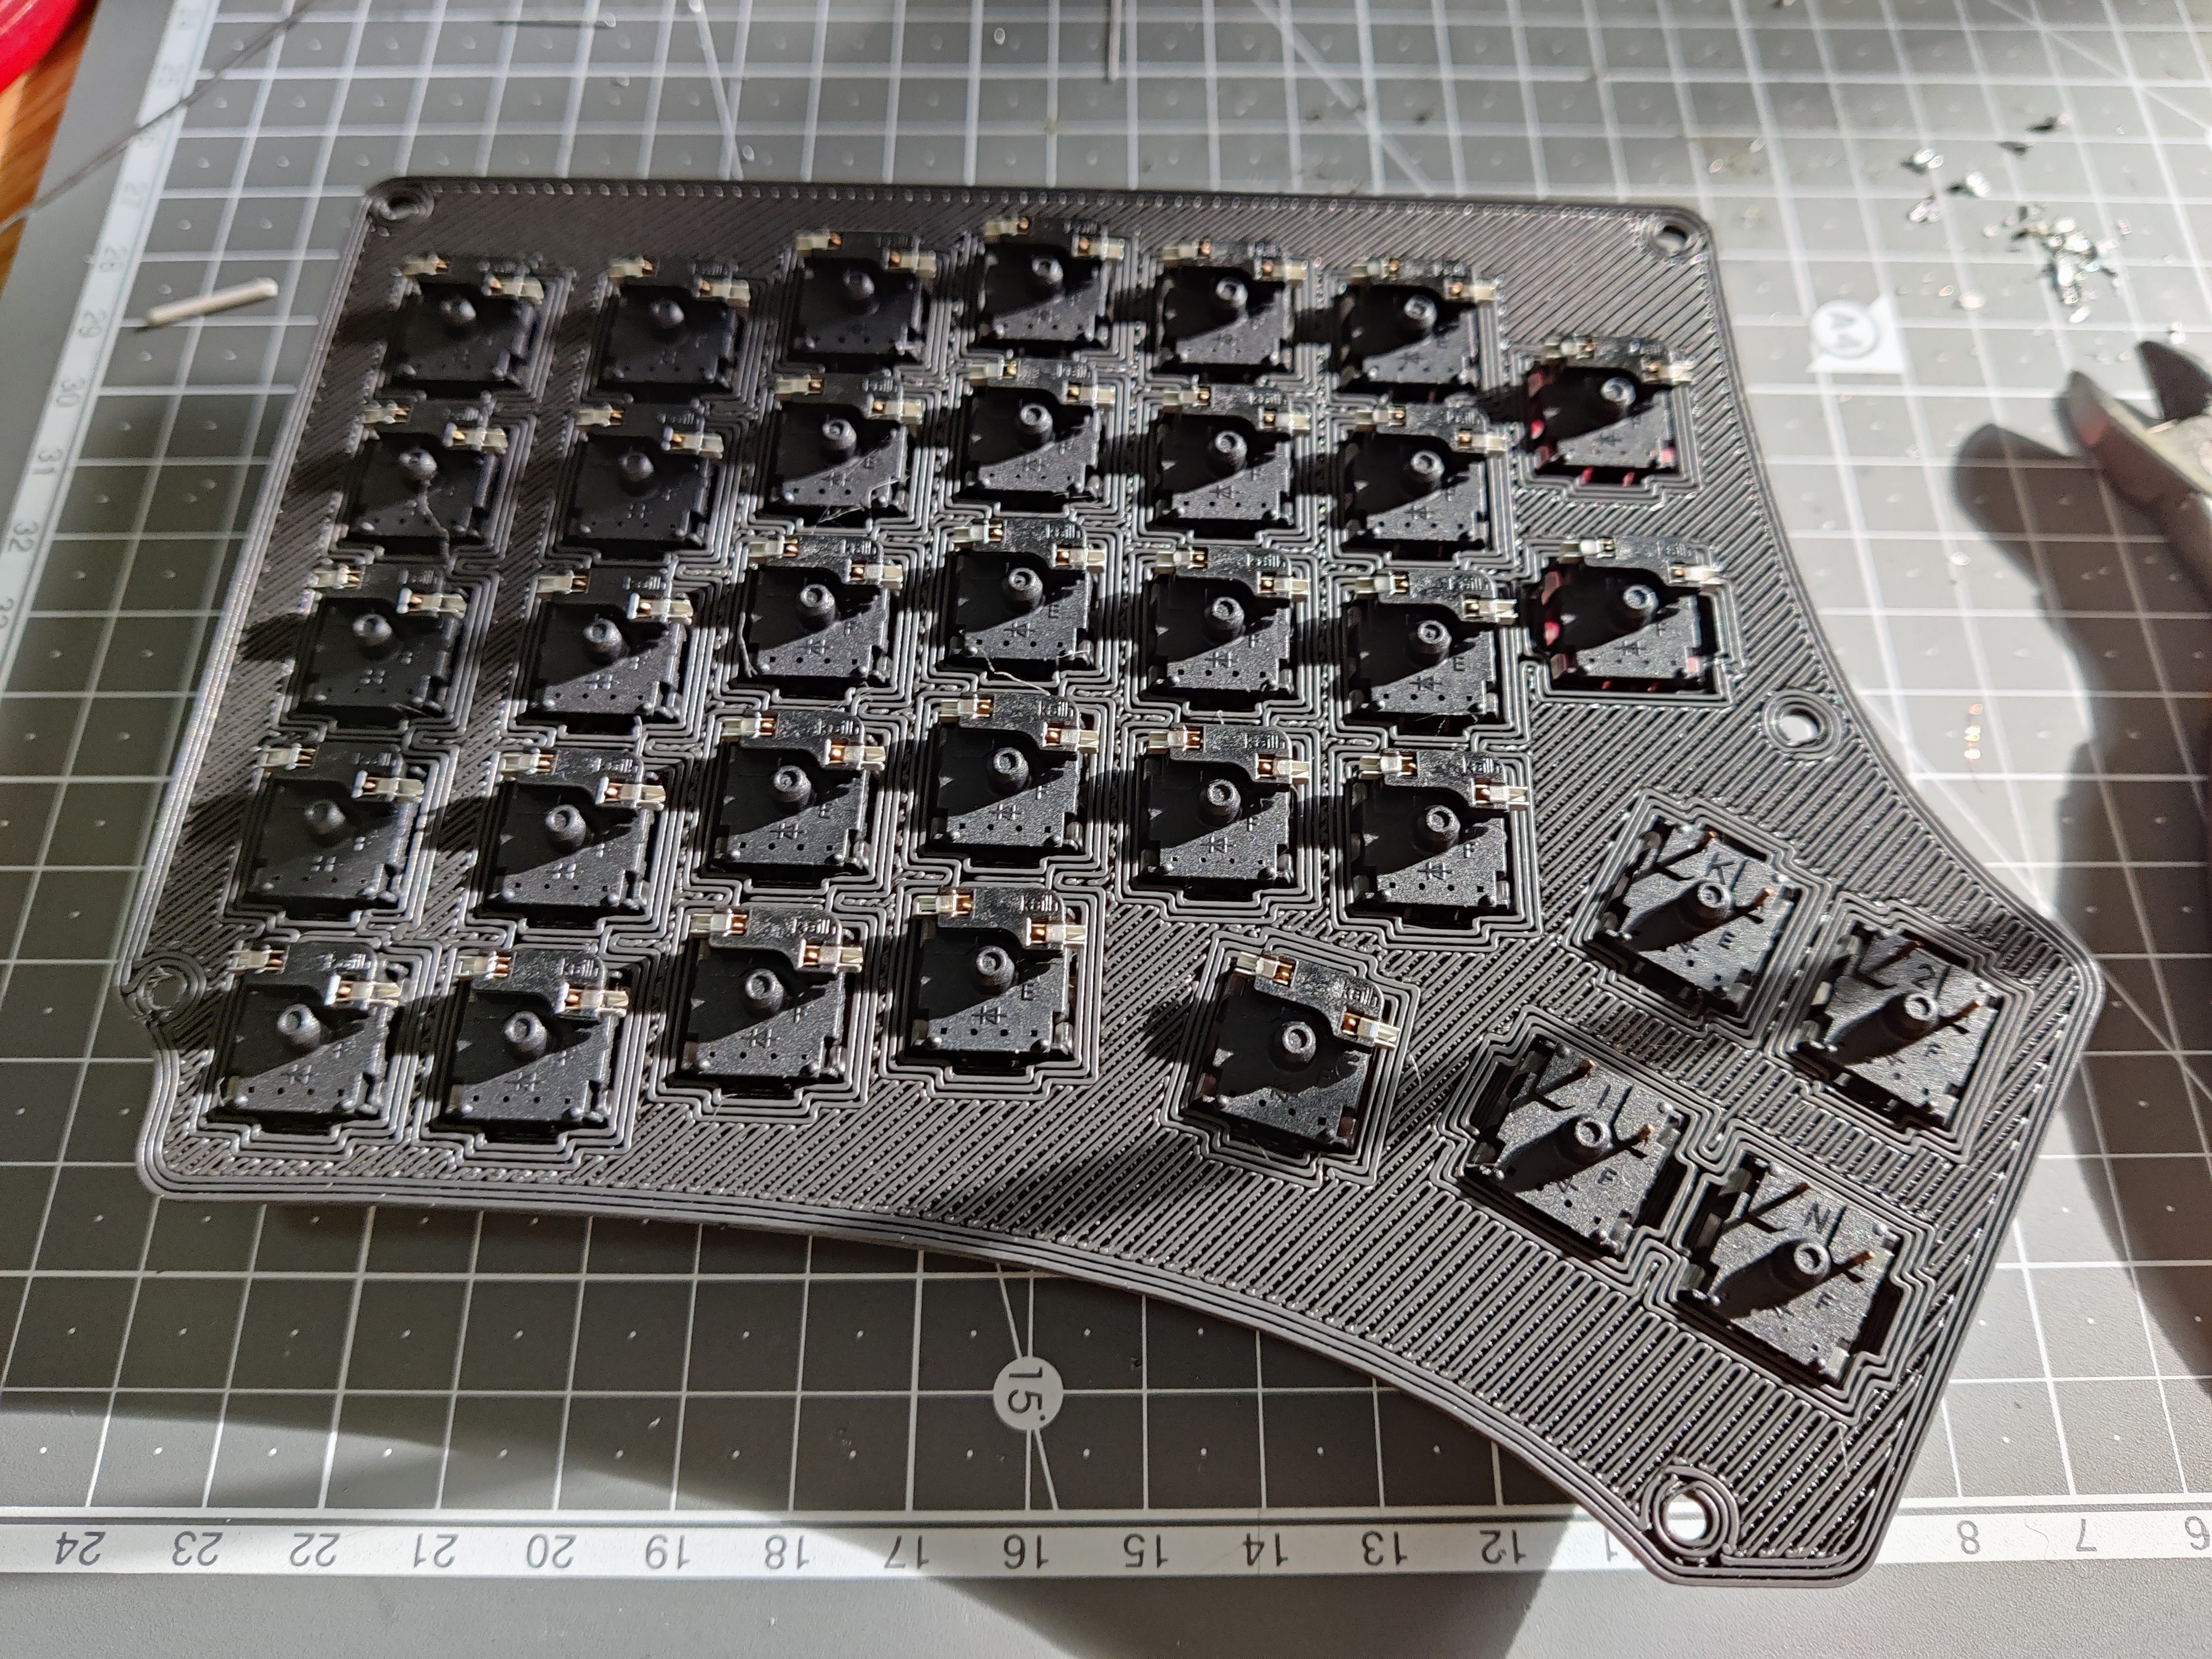
Hand-wiring a keyboard
I then realized that I did want a second keyboard to bring to the office, so I figured I would finish my hand-wiring. This took me longer than both other keyboards combined, partly because I wanted to use the hotswap switches, and partly because stripping little sections of wire is very time-consuming.
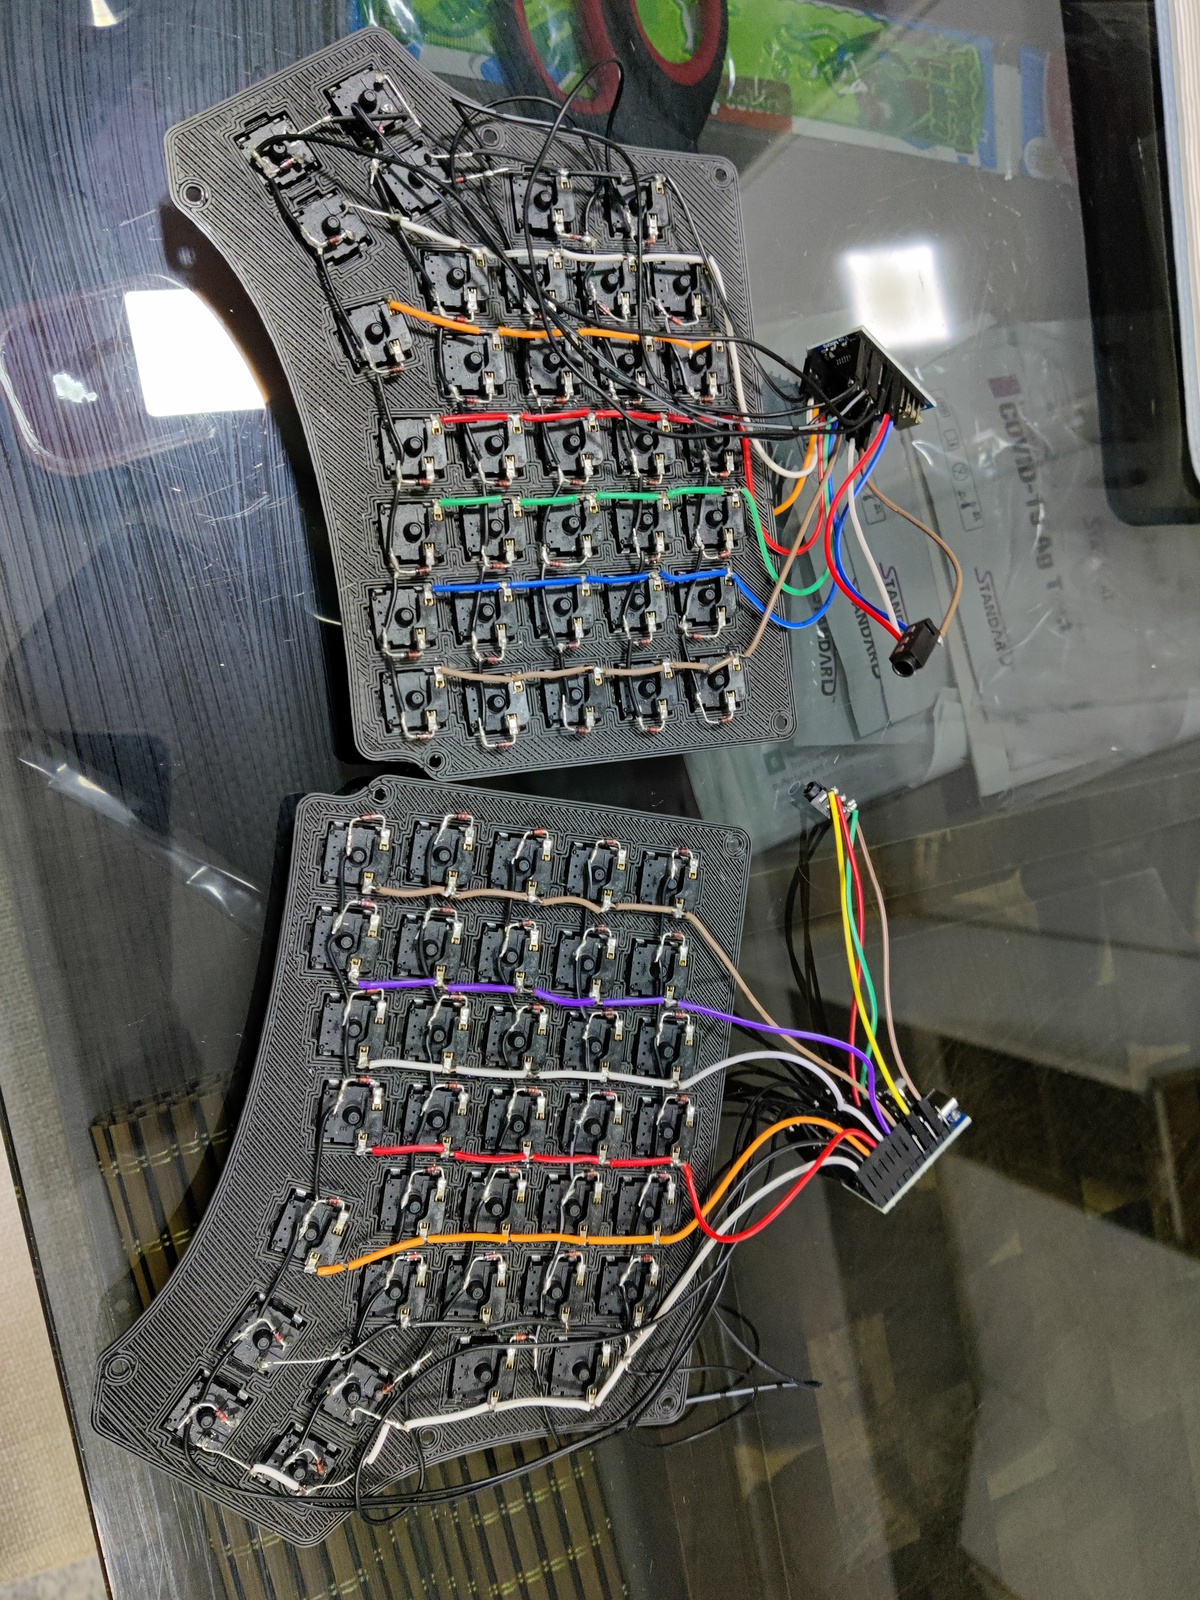 Once all those were done though, it was a simple matter to assemble the pieces, and since I had already experienced the trouble with QMK, that was no issue either.
I debated for a while on whether to keep the microcontrollers inside the case, but my wife commented that it looks nice outside, and I kind of agree (we named it Hackie, and the look sort of fits the name).
Overall the experience of building the three keyboards was really quite tiring but also very rewarding. There’s something about being able to use the thing you’ve made everyday; plus it looks good and is enjoyable to use.